
Step 1
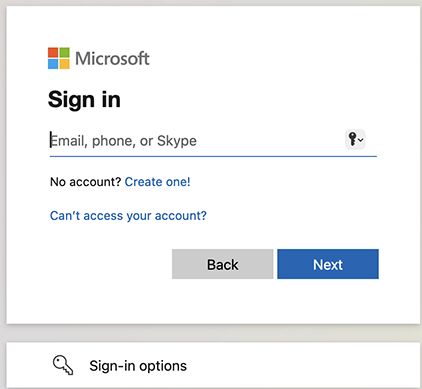
Go to https://office.com and click Sign in
In this walkthrough, we will show you how to setup MFA using Microsoft 365.
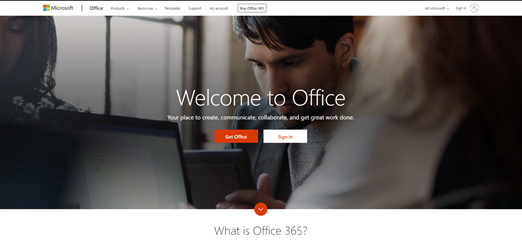
Go to https://office.com and click Sign in
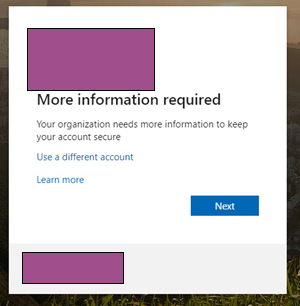
You will now be required to provide more information and start enrolling your device against your Office 365 account.
Click Next
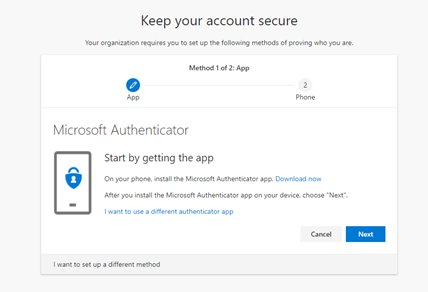
You will now be presented with a instructions to install the Microsoft Authenticator app on your phone. Either use the Google App Store or Apple App Store to install Microsoft Authenticator onto your mobile device.
Click Next
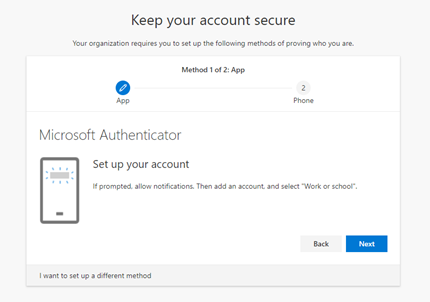
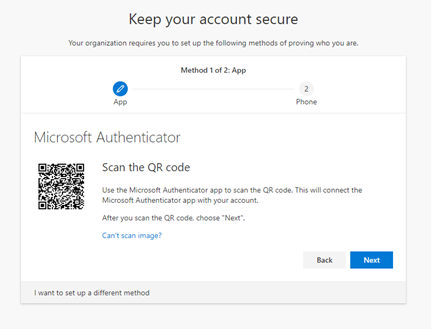
Once you have downloaded the Microsoft Authenticator app, please make sure you allow the Microsoft Authenticator app to use your camera (if asked). If the app cannot use the camera, you will not be able to complete the setup correctly. Once the app is installed, you will need to set up your account to connect to the app.
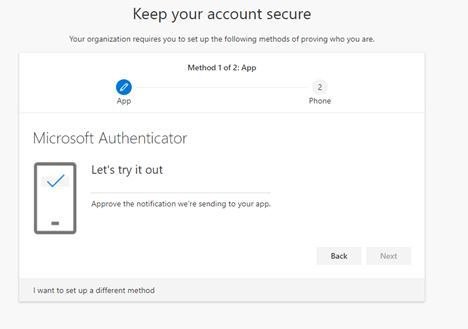
Now that the accounts are setup lets try it out. You should receive a notification on your device. You can either accept to connect or verify the 2 digit number that is presented to you on the screen.
Click Next
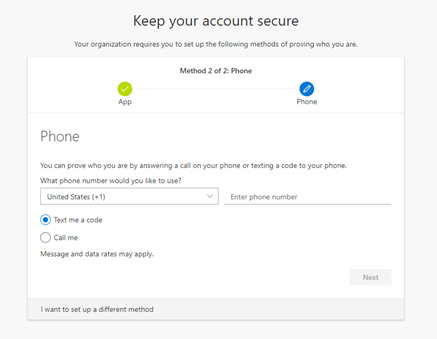
Now, you will set up a backup option: the normal MFA via SMS. You will be asked to enter your mobile phone number and decide if you want to have your validation done via an SMS or by having Microsoft call you.

In this example I have chosen the SMS option. Once you receive the SMS, enter the 6 digit code and click Next
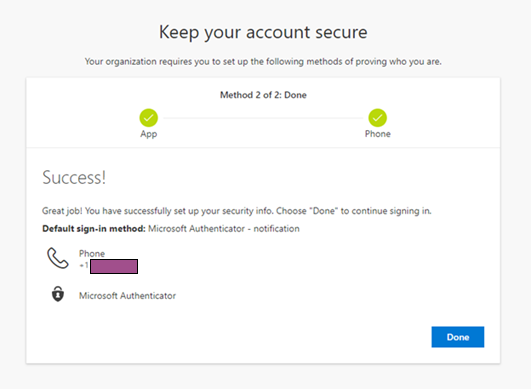
You are now ready to use Microsoft Authenticator as the default sign-in method
Copyright © 2022 CareServ
![]()
![]()
![]()
![]() (678) 288-Help
(678) 288-Help